Best Headlight Restoration Kits
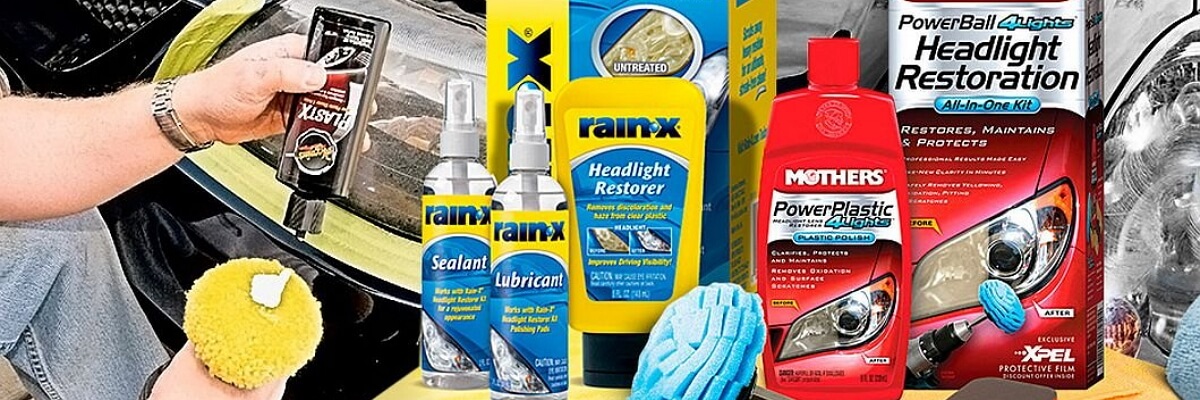
If you noticed that the headlights of your vehicle became dim due to poor condition of the plastic lenses, think of restoring them with one of quality headlight restoration kits. Headlights is exactly what makes a vehicle visible on the road. The better they work, the safer and more convenient the driver’s experience is. The most popular headlight restoration kits in the USA are: 3M, Sylvania, Turtle Wax, Mothers, and Wipe New.

However, with time, the plastic lens get dim under the influence of road debris, insects, UV rays and when this happens, the visibility suffers greatly. Even with new bright bulbs in, the light output is not as good as it used to be from the factory.
If that is something you notice on your vehicle, it is a good idea to restore the lights with the help of a headlight restoration kit. This is a cost-effective solution, as brand-new replacement lights are going to cost you way more.
Plastic Headlight Lenses: Restoration
Regardless of the brand you select, a kit is extremely easy to use. Everything you will need for your restoration process is already included into the kit, as well as easy-to-follow instructions. This is an absolute DIY procedure that you can do by yourself in a garage without having to pay someone else.

Increase Safety and Visibility by Restoring Your Lights
When the lens is transparent, it forms the proper light ray, which illuminates the road the right way. When the lens is chipped and scratched, those imperfections reflect the ray in the different directions, so the ray is not aligned the right way.
As a result, such lights not only provide poor visibility, but also blind the other drivers, which is a safety hazard. Make your headlights lenses transparent again with the help of a headlight restoration kit and eliminate any of these issues.
Regardless of the headlight restoration kit you select, the restoration process is going to be pretty much the same. Here is a quick step-by-step instruction that will be of help for everyone, who wishes to restore headlight transparency with the help of a restoration kit. Just follow these easy steps to make your headlight lenses clear again.
- Gently wash, rinse, and dry applicable car light lenses;
- Dispense a generous amount of activator spray (use half the bottle now and save half for a future step);
- Rinse activator spray from surface;
- Utilize three levels of sandpaper (1000, 200, 100 grit paper) with water,
- Wash and dry lenses prior to applying clarifying compound which you will buff into lenses for approximately 5 minutes each and then rinse off with water;
- Rinse and dry completely (there is a drying fabric included for this step);
- The final step is to apply UV Block Clear Coat to the surface of each lens (you want to apply a generous amount of this liquid that is similar to a clear coat of nail polish in single smooth even strokes preferably top to bottom in a single directional motion).
Complete Kit: What Else is Needed?
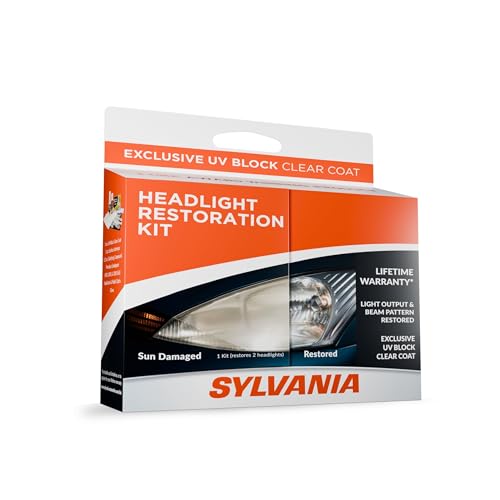
In a kit you get absolutely everything you may need to fully restore your headlights and make them transparent again. A headlight restoration kit will help you get rid of minor scratches, chips and any other imperfections you may have on your headlight lenses. Also the mild abrasive will remove that yellowish/grayish outer film, that makes the headlights dim. With this kit your lights will be transparent again.
As a rule, such kits also includes UV protectant solution, which is the finishing step in the headlight restoration process.This is a special sealant that is applied over the plastic lens to prevent it from cracking and deterioration due to UV rays influence. Also, the UV protectant kits are available separately and is an option for those, who decide to restore their headlights on their own, yet still need to protect the plastic after the process is complete.
Headlight Restoration Kit: Details
With one kit you get everything needed to restore your headlights without breaking the bank. You may use the kit for headlights with plastic or acrylic exterior lenses. The only restriction is headlights with glass lenses, which require different treatment. You can check, what is the headlight lens material on your particular vehicle by checking the owner’s manual.
Features
- Restores lens clarity;
- Increases safety and visibility on the road;
- Improves appearance of your vehicle;
- Easy DIY restoration.
Contents
- clarifying compound;
- surface activator;
- clear coat for UV block;
- sandpaper for perfect plastic polishing (400, 1000, 2000 grit);
- towel for application;
- vinyl glove(s) for application;
- towel for polishing;
- protective tape.
LED Headlight Bulbs: Questions & Answers
Submit your review | |
I purchased this new on eBay. I researched a variety of headlight restoration kits available and decided to give this one a try as my headlights have become dim over the last several years from standard wear and tear (wind, rocks, sand, salt, cold, heat, direct sun uv ray exposure, etc.).
The kit is compact and has a balanced amount of information and graphics to make it easy to understand. The directions and the kit contents may seem a little overwhelming once you initially open the box, but once you read over the step by step directions and start going through the steps you will get a hang of it fairly quickly and before you know it be done with the restoration job. Also, you can slowly start to notice the headlights becoming more clear the more steps you complete (you need to complete all of them though).
Overall, the product did an excellent job and my headlights look very close to the original condition when I purchased the car brand new. Make sure to apply the final UV clear coat in a very smooth, evenly disbursed pattern so that you do not need to go back over prior spots as the chemical tends to dry exponentially faster after it has been applied. If you make a mistake applying the clear coat, quickly and smoothly apply a slight additional amount onto the fabric cloth included for this step and touch up (you can touch up, but do not go over the same spot multiple times or the bottom layer will dry). Everything worked out for me on the first attempt and I was very happy to get my car's light lens back to good as new condition.
A great way to restore yellowish lights! Reasonable cost, nice quality, fast shipping.
I have 2005 Jeep Liberty Limited and in grill fog lights started getting foggy. I had put off getting new ones due to the cost and the age of the Jeep. I finally had enough when I noticed that not only were they foggy but it look as if the coating was peeling/chipping.
After reading and watching several reviews I decided to get this kit. I have used other products that would last just a couple days to a week or two. This kit takes some time but it actually works. Due to the severity I had to use the activator and 400 grit twice but it was well worth it. I took before and after photos to attach to the review but unfortunately you cannot attach photos.
I feel the photos would help sale this product even more. I would highly recommend using this product and I will definitely use again if needed.
This really works. Use it just as the directions say. Keep a bucket handy to dip the sandpaper in from time to time while using it, and a hose to wash off the lens. Be careful not to go over the lens with the UV block once you've applied it. I made that mistake and left streaks in the UV block. Hard to see and they don't effect the clarity of the lens, but they are there just the same.
Tried all the home remedies. Only good until the first rain. Then tried a competitior. Also didnt work. Checked the reviews and went with 3M for my 2003 Z4. Unbelievable results. Just like new. Highly recommend.
WOW! AMAZING! My headlights were so cloudy I was having a hard time driving at night. Sometimes it didn't even look like my headlights were on!!! My husband and I applied this product on and now they look brand new! They are finally clear! Thank you so much for your awesome product! Now I'm not afraid to drive at night anymore! I have been telling everyone how well it works. Actually, I just purchased 2 more orders for family members.
This kit is great and works like gang busters. My headlight lenses look brand new.
This kit is an easy way to remove that yelowish plastic from the headlights. It took me around 40 minutes to do 1 side. Pretty much DIY
I did research on headlight restoration kits, since there are so many products available and wasn't sure which one would work. It seemed that the Sylvania kit had great reviews so I ordered a kit. The headlights on my 2001 Ford Sport Trac were faded, yellow and foggy. This kit restored it to like new. I'm amazed at how good the headlights look now. It's unbelievable! The whole process took about 40 min.
I ordered this kit to do something about my F-250 headlights, as they were dim with numerous scratches. I couldn't make a decision right away on what kit to choose, yet I absolutely love Sylvania bulbs, so decided to give it a try. And I must admit, the kit saved me some cash, as I thought of a new headlight kit if I don't manage to restore what I've got. Luckily, everything worked out okay.


